The Task
The fourth step of the design process focused on an experiment. Based on the work we have done over the weeks, we have reached the point where we can take a function of our product and test it. In addition, we also continued our Onshape education. My team decided to test the amplification of sound using circuits. We also tested how adjusting EQ in existing EQ systems affects amplitude. These experiments were conducted either virtually or at home due to COVID-19.
Onshape
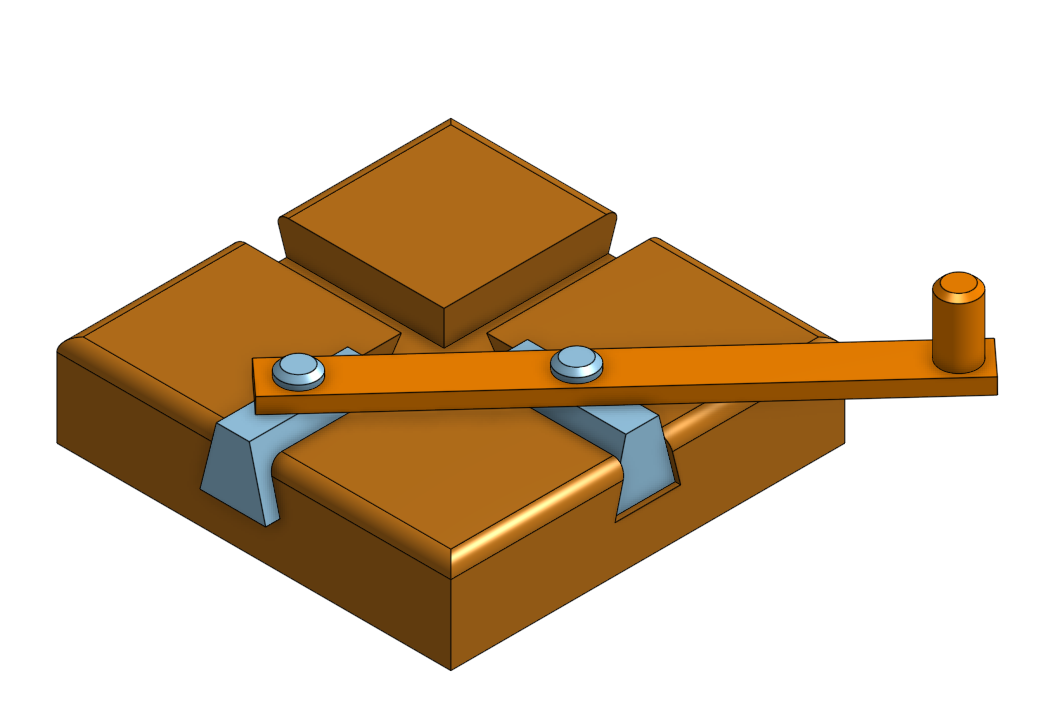
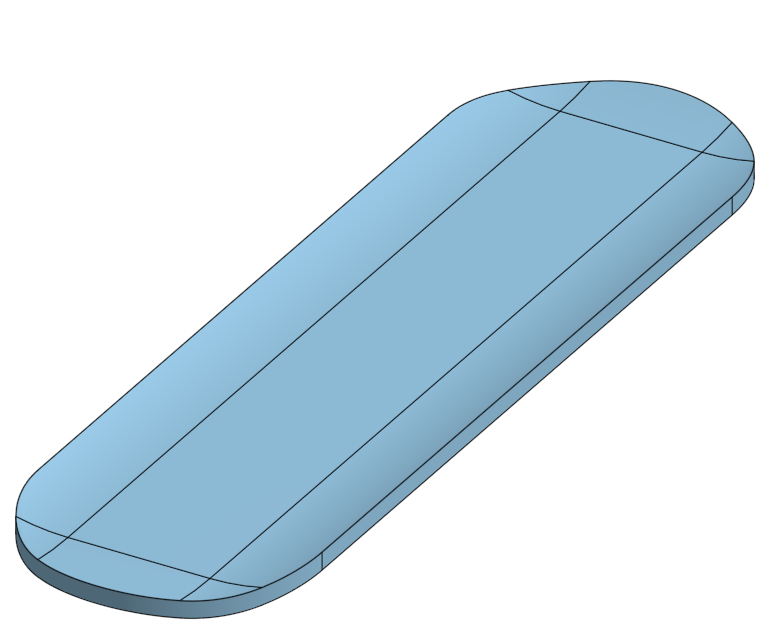
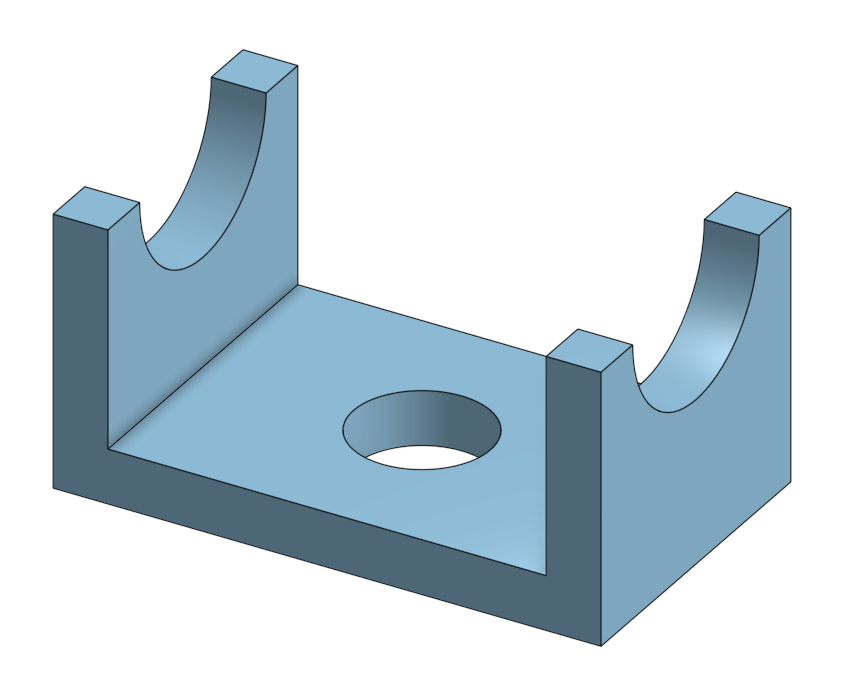
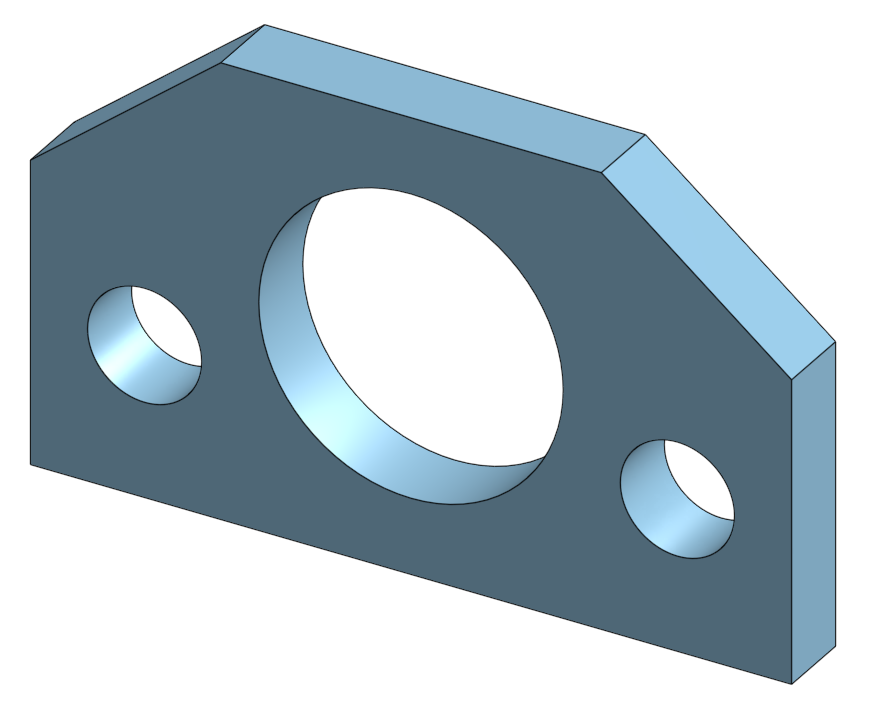
With Onshape, we continued learning how to use the software. We learned how to assemble and animate components, as seen in the do nothing machine on the left. We continued to learn other techniques by modeling a skateboard deck, a saddle bracket, and a spacer plate. I plan to use this software in creating our product's model.
|
|
|
|
Tinkercad and SimScale
|
We also introduced SimScale and Tinkercad into our project. SimScale is an extension of Onshape that runs simulations such as heat and stress. It will be used to gather more information about materials and limitations.
Tinkercad is a website that is used for CAD and circuit designing. We will primarily be using Tinkercad for circuit design. Onshape will cover CAD. |
|
|
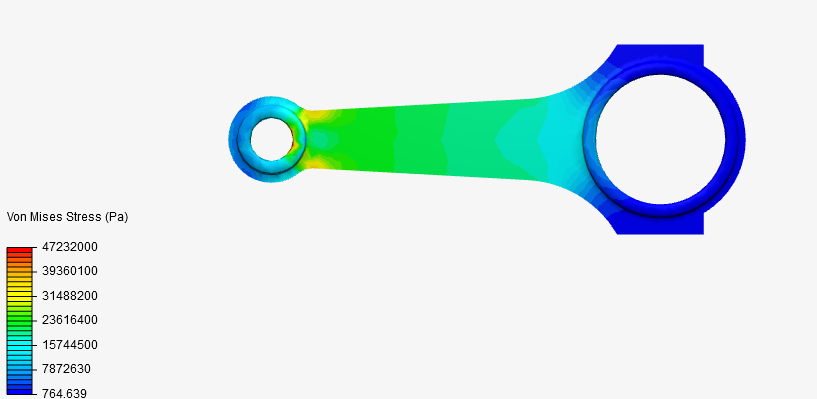
The following image is a stress test conducted on a connecting rod in Simscale. Pressure was applied to the left side. The red colors represent high stress, and the blue colors represent low stress. The colors in between are measured accordingly on the von Mises stress scale.
|
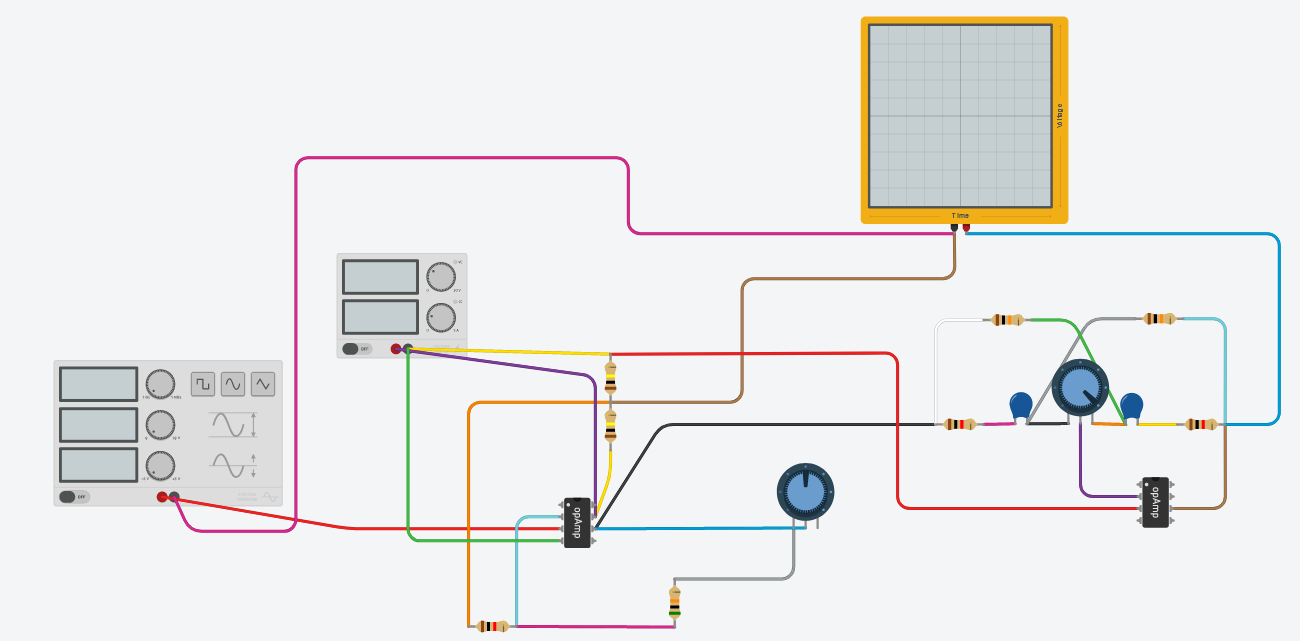
Tinkercad Circuit
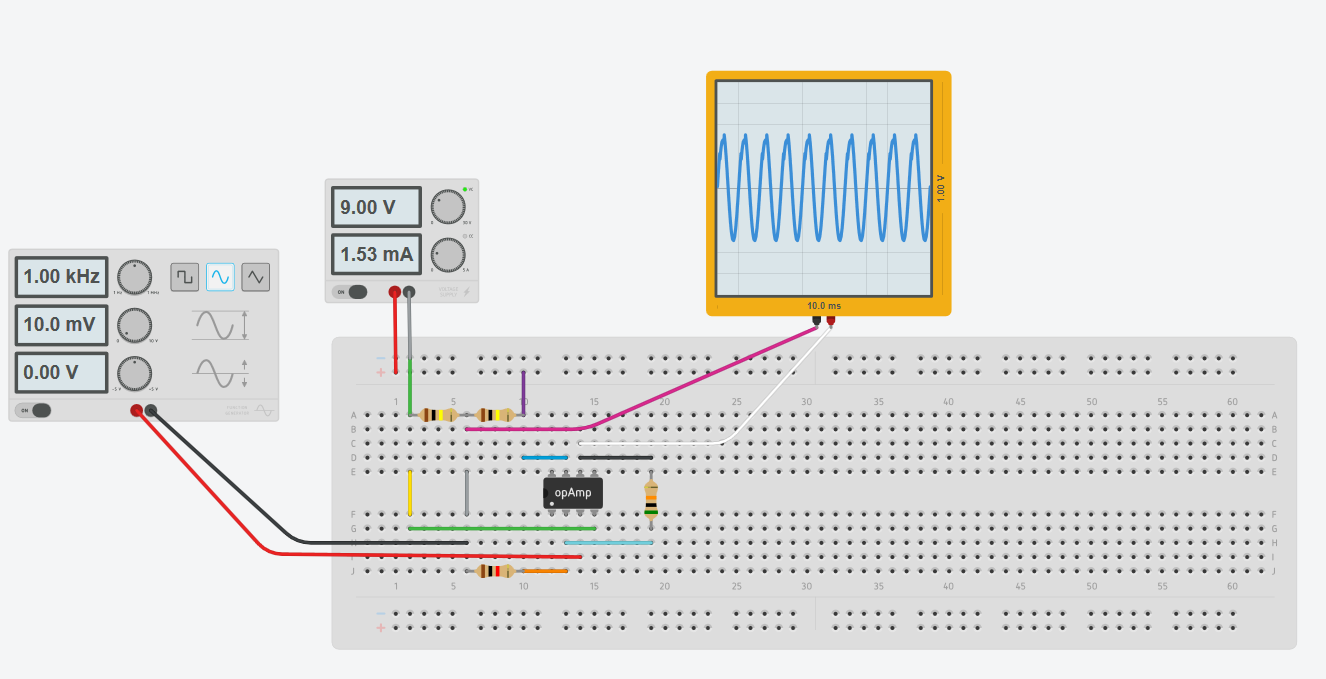
This circuit, modeled in Tinkercad, is a preamp circuit. I modeled it after similar circuits I found online. I've always known the basics of circuits because of my participation in the STEM Program and AP Physics, but I needed to learn more. Chris Fehring, our mentor, helped teach me more advanced circuit theory and how to apply it to this project. Designing the circuit was extremely difficult and took hours of work, but getting it to function made it all worth it. The first image is just the circuit and the second image is the circuit running.
The primary function of this circuit is to take an input AC voltage and amplify it. In the way it is visualized, it is a sine wave being amplified. From left to right, the three components connected to the breadboard are a signal generator, a power supply, and an oscilloscope. The signal generator outputs AC voltage, the power supply outputs DC voltage, and the oscilloscope measures voltage on a graph. The way the circuit functions is its usage of the 741 operational amplifier integrated circuit. The 741 is able to amplify an input voltage using transistors. In order to equalize, you need to amplify first. We plan to use a similar circuit in our actual design.
We see that a 10mV input results in a 0.5V output. This means that the voltage is amplified 50x. This is perfect for the experiment. The second experiment changed the resistance of the circuit, which also increased voltage. We will keep these relationships in mind as we continue this process.
Detailed Experiment Setup and Lab Report
This document covers the process of our experiment. We go into general information, talk about the steps of the experiment, the results, and analyze the results. We reach multiple conclusions in the document. We talk about our circuit experiments and the EQ experiments. The EQ experiment involved me recording the same four notes on a bass (the open notes) at different EQ levels. A recording of the bass part can be found here. The volume stayed the same. The four levels are:
1) everything at 0
2) bass at max, everything else at 0
3) mid at max, everything else at 0
4) treble max, everything else at 0
We talked about the different levels of amplification and how EQ affects it. The lab report covers this in more detail.
1) everything at 0
2) bass at max, everything else at 0
3) mid at max, everything else at 0
4) treble max, everything else at 0
We talked about the different levels of amplification and how EQ affects it. The lab report covers this in more detail.
Reflection
The workload was easy for the fourth design step, but I made it astronomically more difficult for myself. However, in my mind, it was worth it. My biggest strength was easily my determination to build the circuit. I volunteered to take the burden of the work since I felt the most comfortable in the team working with circuits. It took a lot of brain power and perseverance to make the circuit work. I went through multiple drawings and many failed attempts. Even after reaching out to Chris Fehring, I still struggled with building the preamp. However, after working meticulously for days and looking at every little detail, I managed to successfully construct a circuit that worked. All the stress and anger faded away immediately as soon as I saw that sine wave. My other strength was my Onshape skills. Creating the Onshape models took a bit of time, but I was able to problem solve and fix any errors in the model. I appreciate being able to use Onshape more frequently now, since my only experience with it was with my robotics club. I will use this software much more in the future.
However, some weaknesses adversely affected my performance. One of my weaknesses was my work with the circuit. Taking all of the work myself is a double-edged sword. It added stress to my workload and I could've worked more with my other teammates to alleviate some of that pressure. Although the payoff was worth it, the same result could've been arrived at in less time with others on my side. Another weakness I had was my experiment decisions. One issue that pushed the team back was forgetting to conduct a second unique experiment. The bass experiment was a last minute change, adding stress to the team. If I considered this before the due date, we could've focused on other tasks.
The issues I had are prevalent, but were cancelled out by my overall performance. This lab experiment was critical to the success of our product, and I will keep working hard in the future.
